
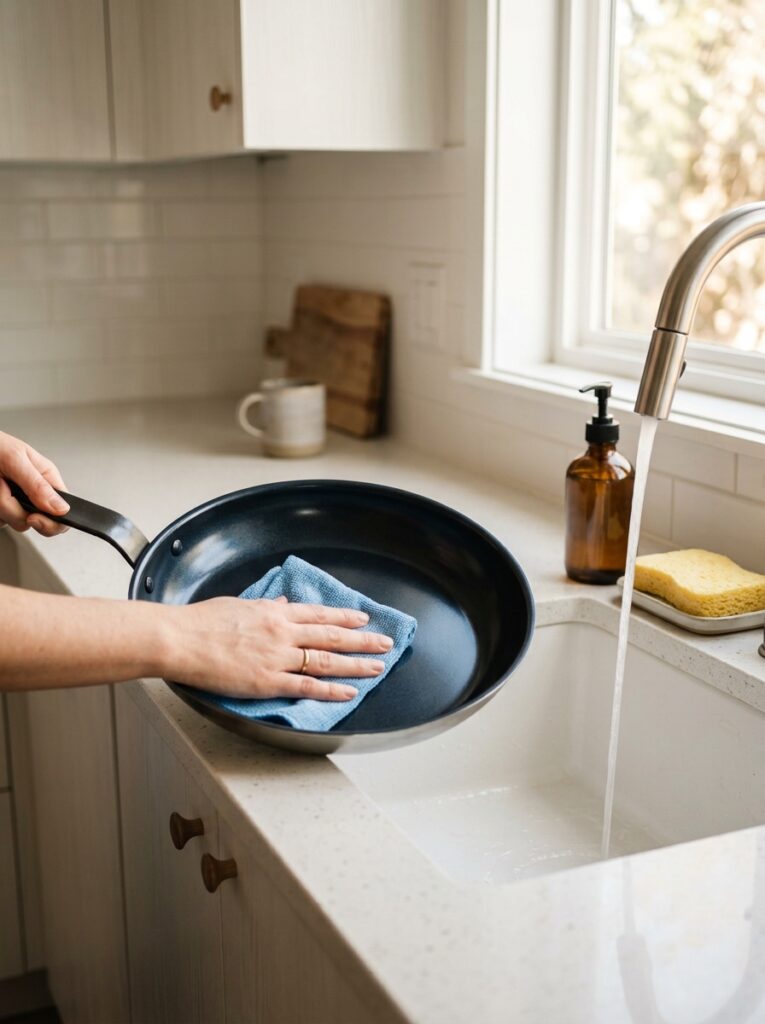
Quick Answer: If you’re searching for the best non-stick pan cleaning tips without scratching your cookware, here’s the quick answer: let the pan cool first, wash it with warm water and mild dish soap using a soft, non-abrasive sponge, and always avoid metal utensils, steel wool, or high heat. Soaking stubborn food for 15–20 minutes instead of scrubbing is the single most effective habit for protecting the coating long-term.
I still remember the day I ruined my very first non-stick pan. I was in a hurry, grabbed a steel wool scrubber, and went at a bit of stuck-on egg like it owed me money. Ten seconds later, my pan had a dull, scratched patch right in the middle — and food never stopped sticking to that spot again. That mistake cost me a $40 pan and taught me a lesson I now share with every friend who buys a new non-stick set: how you clean your pan matters just as much as how you cook with it.
If you’ve ever wondered how to get your non-stick pans spotless without ruining that smooth coating, you’re in the right place. In this guide, we’ll walk through why non-stick pans scratch so easily, the safest tools and cleaning methods to use, natural alternatives if you prefer to avoid harsh chemicals, the biggest mistakes people make (and how to fix them), whether the dishwasher is really off-limits, how to bring a dull pan back to life, and the small daily habits that will help your cookware last for years instead of months. By the end, you’ll have a complete, easy-to-follow routine for keeping your non-stick pans in perfect condition.
What makes this guide different from most cleaning articles online is that every tip here comes from real trial and error — including my own ruined pan — rather than generic advice copied from a product label. You won’t just get a list of do’s and don’ts; you’ll understand why each step matters, so you can adapt these tips to whatever pan or coating you own.
Table of Contents
1. Why Your Non-Stick Pan Scratches So Easily (And Why It Matters)
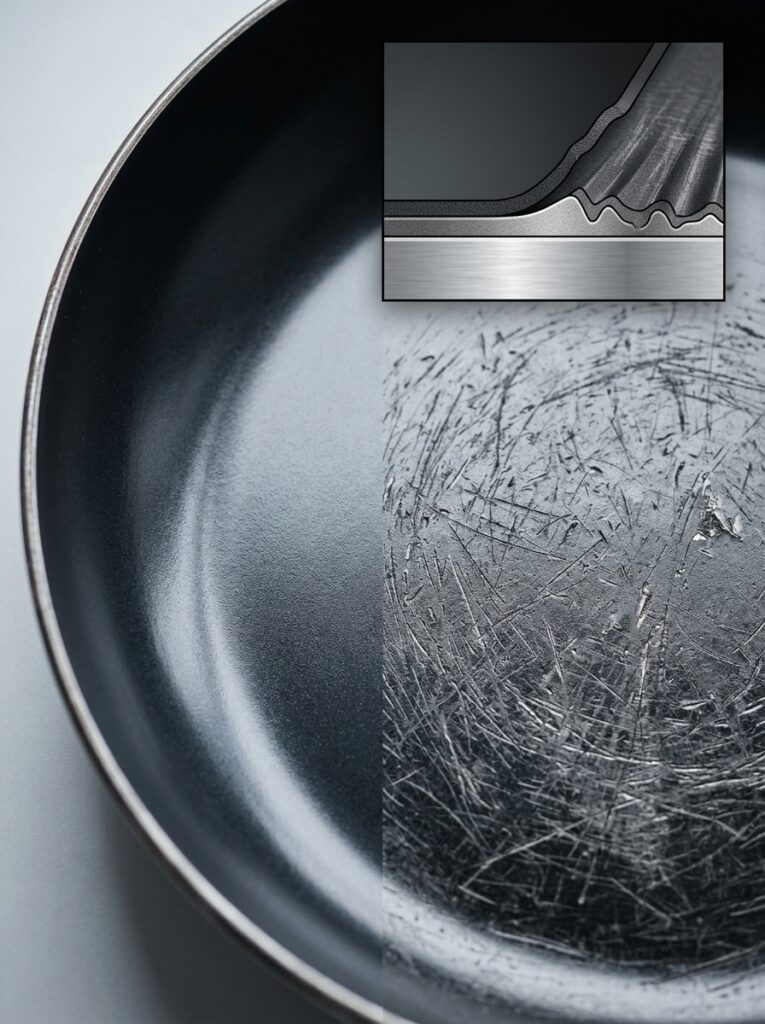
Non-stick pans are coated with a thin layer of material — usually PTFE (like Teflon) or a ceramic-based coating…
When you understand why non-stick pans scratch, it becomes much easier to follow the best non-stick pan cleaning tips without scratching the surface:
- The coating is only a few microns thick. It’s not a solid material all the way through — it’s a thin layer bonded to the metal underneath. Any abrasive contact wears it down a little at a time, even if you don’t see a mark right away.
- Heat makes the coating softer and more vulnerable. Cleaning a pan while it’s still hot, or using very hot water combined with scrubbing, makes the surface more prone to damage.
- Micro-scratches are invisible at first. You might not see a scratch after one wash, but repeated contact with rough sponges, metal utensils, or harsh powders adds up over weeks and months.
- Once the coating breaks down, food sticks more — which leads to more scrubbing. This creates a frustrating cycle: a slightly damaged pan needs more force to clean, which damages it further.
Knowing this is the first step. The good news is that once you switch to the right tools and habits, protecting your pan becomes second nature.
2. Choosing the Right Sponge: The Foundation of Safe Non-Stick Pan Cleaning
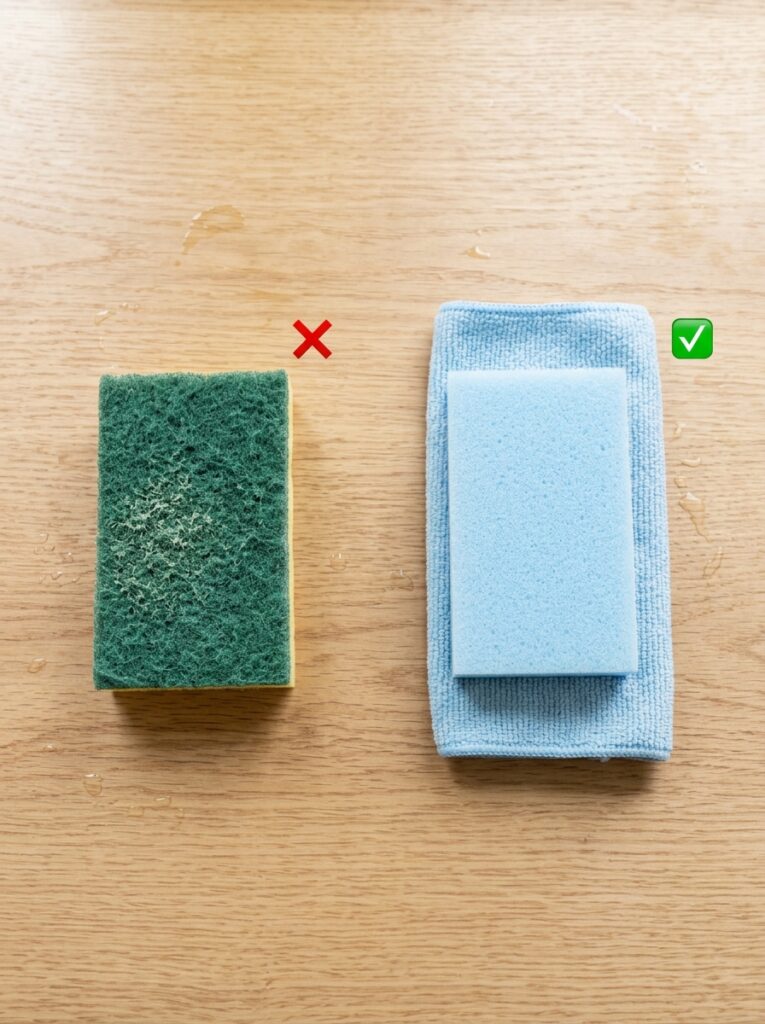
If there’s one single change that will protect your cookware more than anything else, it’s the sponge you reach for. This is honestly where most people go wrong — including me, years ago.
- Avoid anything green, dark, or labeled “heavy-duty.” These abrasive scouring pads are designed for cast iron or baked-on grease on stainless steel — not for delicate coatings. Even one pass can leave fine scratches.
- Look for sponges labeled “non-scratch” or “safe for non-stick.” Brands like Scotch-Brite make a specific Zero Scratch range built for exactly this purpose. The scrubbing side is engineered to lift grease without breaking down the coating.
- A soft microfiber cloth works well for light, everyday messes. For pans that only need a quick wipe after cooking eggs or pancakes, a microfiber cloth alone often does the job.
- Replace your sponge regularly. An old, worn-out sponge can develop rough edges or trap grit that scratches surfaces over time — even a “gentle” one.
This one small swap — choosing a soft, non-scratch sponge — solves probably 80% of the scratching problem before you even get to the rest of your routine.
3. The Best Way to Clean a Non-Stick Pan After Cooking
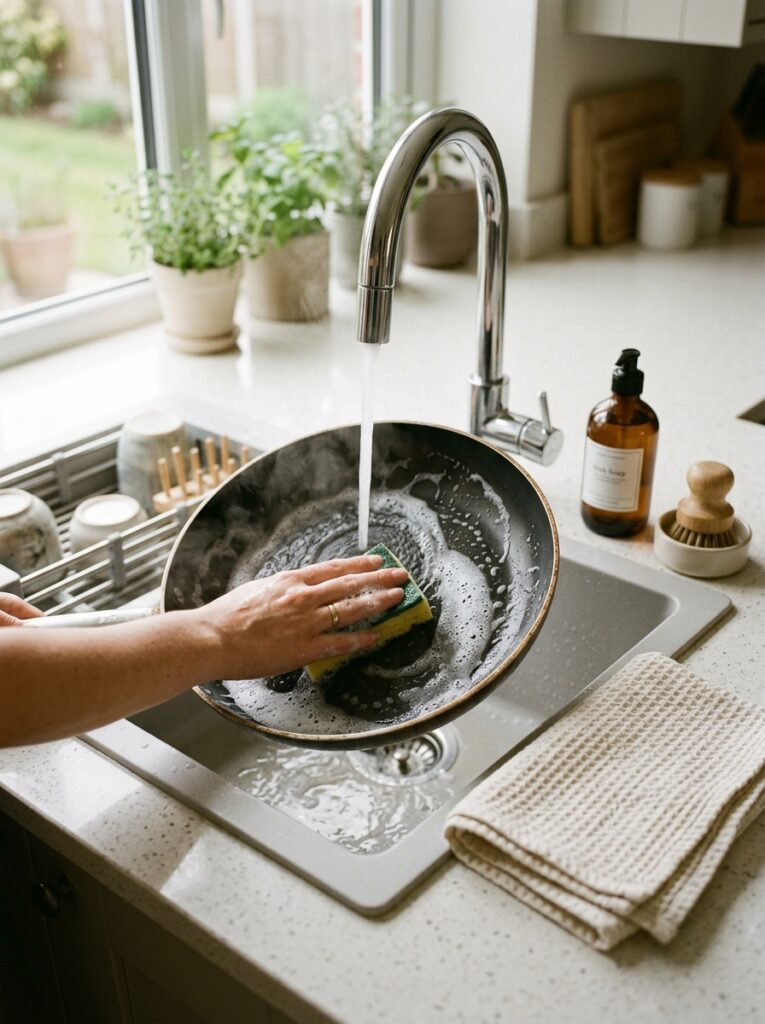
Timing and technique both matter here. This is the step-by-step method I now use every single time, and it’s genuinely one of the best non-stick pan cleaning tips without scratching that I can offer:
- Let the pan cool down first. Never run cold water over a hot pan — the sudden temperature change (called thermal shock) can warp the pan and stress the coating, sometimes causing it to crack or peel over time.
- Wipe out excess oil or food with a paper towel before washing. This reduces the amount of scrubbing you’ll need to do later, which directly reduces wear on the surface.
- Wash with warm water and a small amount of mild dish soap. You don’t need a strong degreaser for most non-stick cleanup — a gentle soap like Fairy Liquid or Dawn does the job without being harsh on the coating.
- Use light, circular motions rather than hard back-and-forth scrubbing. Let the soap and warm water loosen the residue instead of relying on brute force.
- Dry immediately with a soft towel. Air-drying isn’t harmful, but drying by hand prevents water spots and gives you a chance to check the surface for any early signs of wear.
Following this simple sequence after every use prevents the build-up that usually leads to more aggressive scrubbing later on.
If you’re working on making your whole kitchen easier to manage, you might also enjoy our guide on organizing a small kitchen for maximum space — it pairs well with keeping your cookware in top shape.
4. How to Remove Stuck-On Food Without Scratching Your Pan
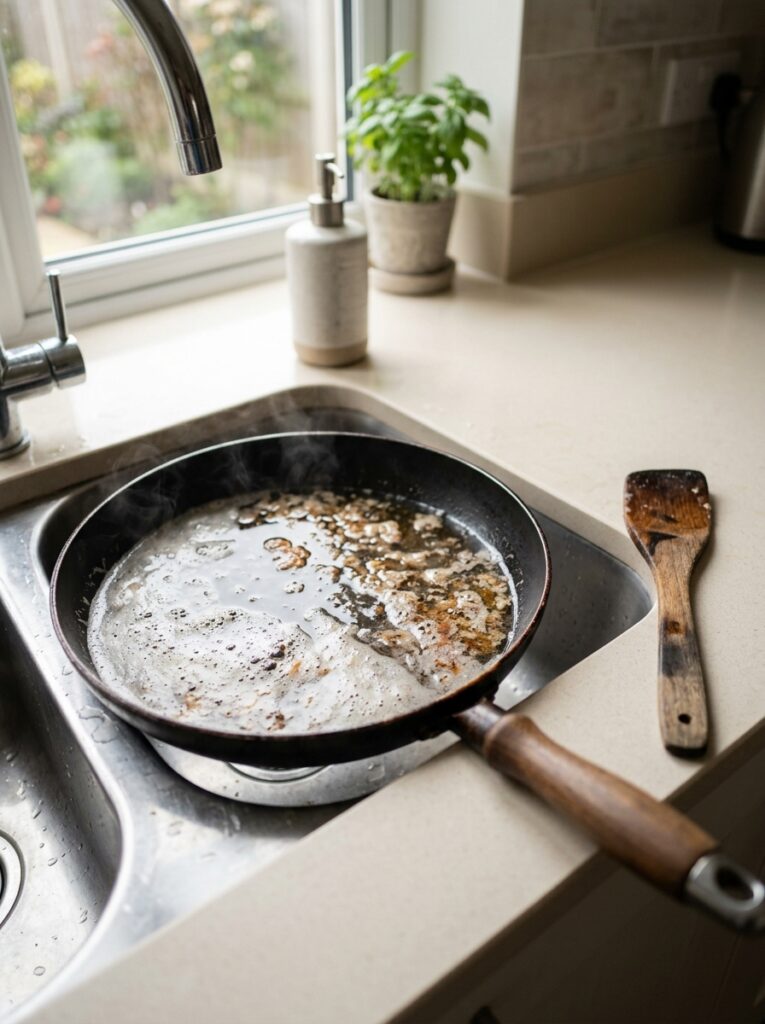
Stuck-on food is where most people panic and reach for something abrasive. But there’s a gentler way that works just as well — it just takes a little patience instead of force.
- Soak the pan in warm, soapy water for 15–20 minutes. This alone loosens most stuck food without any scrubbing at all.
- Simmer water in the pan for a few minutes if the residue is stubborn. Add a splash of water, bring it to a gentle simmer for two to three minutes, then turn off the heat and let it sit. The food will lift off with barely any effort.
- Use a wooden or silicone spatula to gently nudge off softened bits. Never use a metal spatula or knife to scrape a non-stick surface — this is one of the fastest ways to cause visible scratches.
- Repeat rather than rush. If food is really stubborn, it’s better to soak twice than to scrub hard once.
This “soak and simmer” approach has saved every pan I own from unnecessary scratching, and it barely takes any extra effort compared to scrubbing.
5. Natural Cleaning Solutions That Are Gentle on Non-Stick Coating
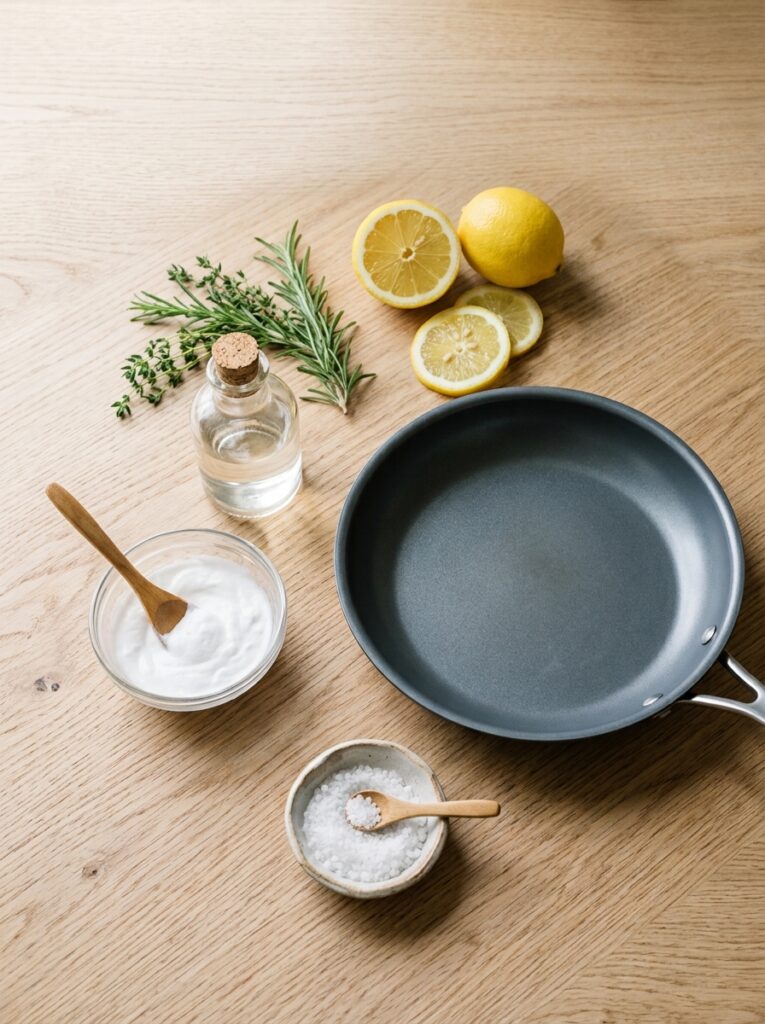
If you prefer to avoid heavy chemical cleaners, there are a few natural options that are both effective and completely safe for non-stick surfaces.
- Baking soda paste. Mix baking soda with a small amount of water to form a thick paste, apply it to stubborn spots, and let it sit for 10 minutes before wiping with a soft cloth. Baking soda is mildly abrasive but safe — it lifts grime without damaging the coating.
- White vinegar and water. For light discoloration or a greasy film, a mix of equal parts white vinegar and water, warmed gently in the pan, can restore shine without any scrubbing at all.
- Lemon and salt (for very light polishing only). Some people use this combination on stainless steel, but on non-stick pans it should be used sparingly and only for very light residue, since salt can be slightly abrasive in larger amounts.
- Hot water alone. It’s often underrated, but for pans used for lighter cooking like eggs or vegetables, hot water and a soft cloth are sometimes all you need.
These natural methods are especially popular with readers who want an eco-friendlier kitchen routine without sacrificing results.
6. Mistakes That Ruin Non-Stick Pans (And How to Avoid Them)
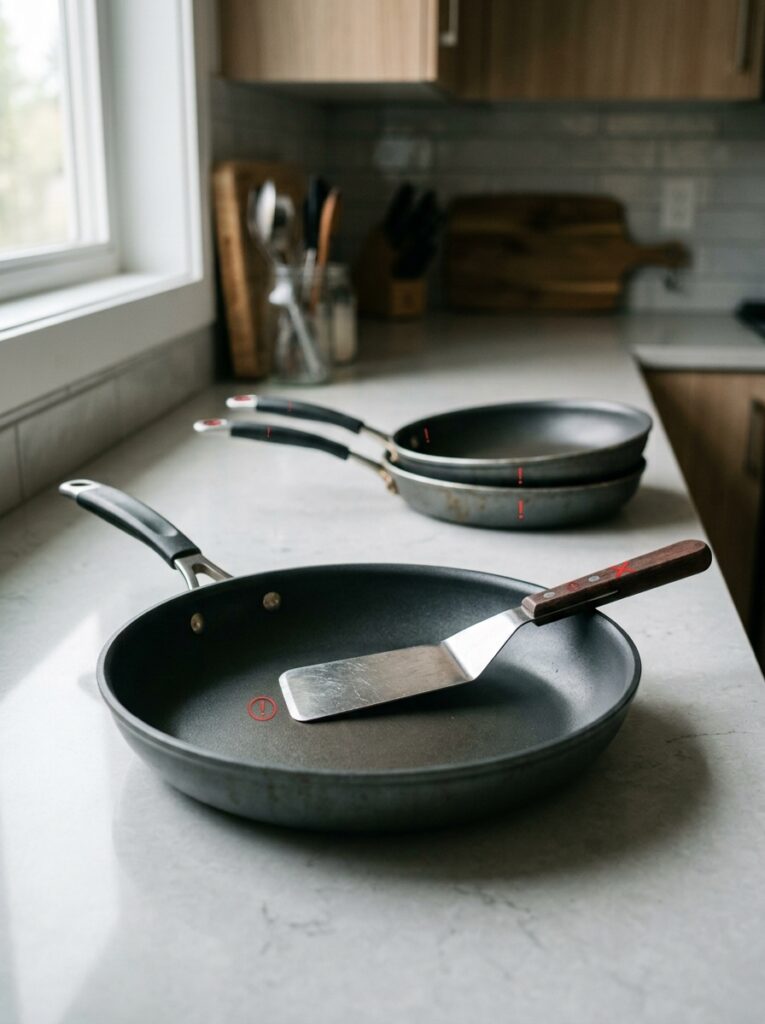
Even with the right sponge and technique, a few small habits can undo all your good work. Here are the most common mistakes I see (and made myself) when it comes to non-stick pan care:
- Using cooking sprays instead of oil or butter. Aerosol sprays contain propellants that can leave a sticky residue that builds up over time and is difficult to remove without scrubbing.
- Cooking on high heat. Most non-stick coatings are designed for low to medium heat. High heat not only damages the coating faster but can also release fumes from certain older coatings.
- Stacking pans without protection. Placing one pan directly on top of another causes the bottom of the top pan to scratch the coating below. A simple pan protector or a folded kitchen towel between pans solves this instantly.
- Using metal utensils. This is the most common mistake of all. Even a “gentle touch” with a metal spoon or spatula can leave marks over time.
- Ignoring the manufacturer’s care instructions. Every brand’s coating is slightly different, and checking the label takes two minutes but can add years to your pan’s life.
Avoiding just two or three of these habits makes a noticeable difference within a few weeks.
7. Is It Safe to Put Non-Stick Pans in the Dishwasher?
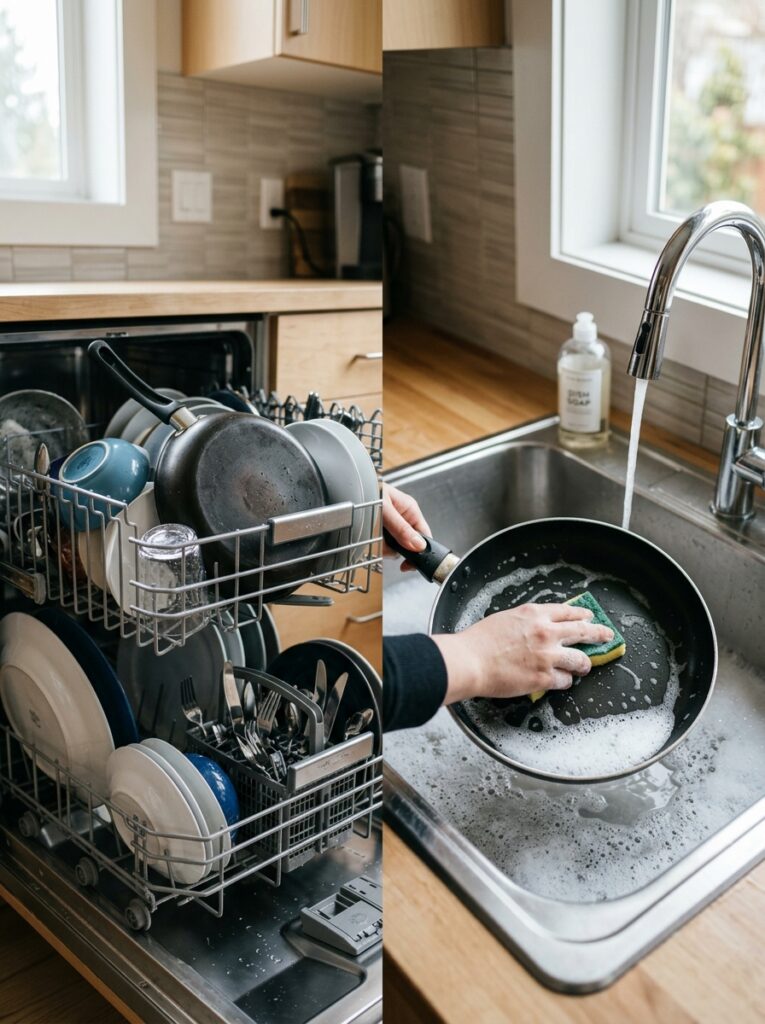
Quick Answer: Even if a non-stick pan is labeled “dishwasher safe,” hand washing is still the better choice for long-term durability, since dishwasher detergents and prolonged heat gradually wear down the coating faster than gentle hand cleaning.
This is one of the most common questions readers ask, and the honest answer is: it depends.
- Check the manufacturer’s label first. Many modern non-stick pans are labeled “dishwasher safe,” but that doesn’t always mean it’s the best choice for the coating’s longevity.
- Dishwashers use harsh detergents and high heat. Even if a pan technically survives the dishwasher, the combination of strong detergent and prolonged heat exposure can gradually dull the coating faster than hand washing.
- Pans can bump against other dishes during the cycle. This physical contact is often what causes scratching, more than the detergent itself.
- Hand washing is almost always the safer choice, even for dishwasher-safe pans, if you want your cookware to last as long as possible.
If convenience matters more to you than maximum longevity, an occasional dishwasher cycle likely won’t ruin a good-quality pan — just don’t make it a daily habit.
8. How to Deep Clean and Restore a Dull Non-Stick Pan
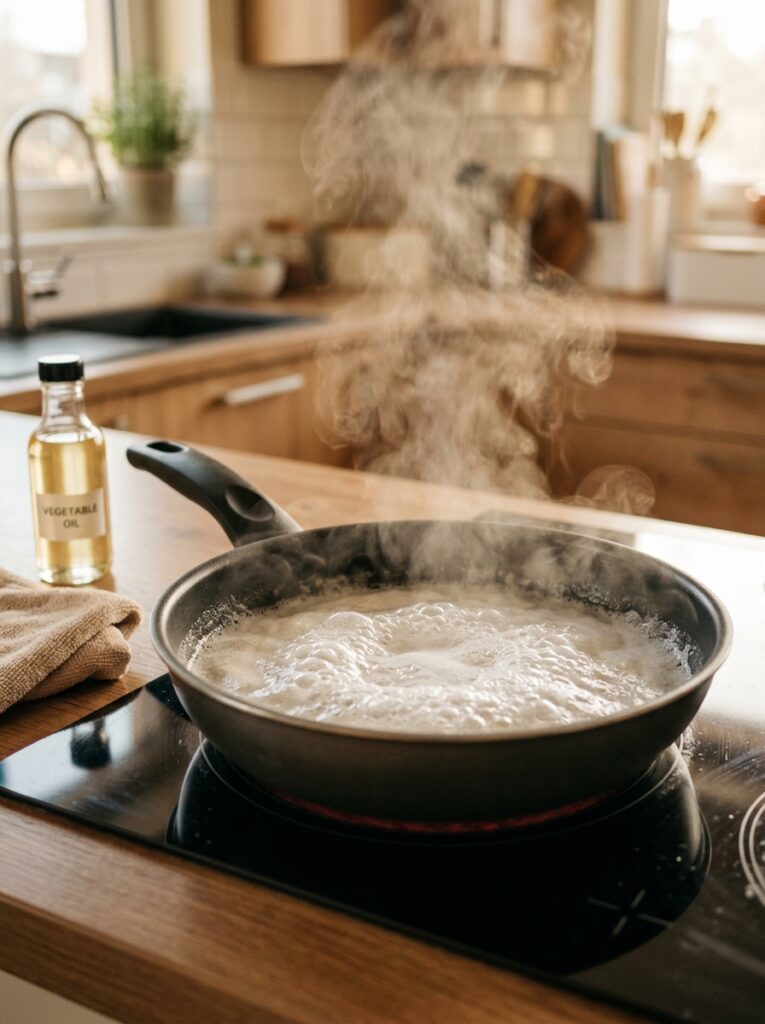
If your pan has lost its shine or has a slightly sticky residue that won’t come off with normal washing, a deep clean can bring it back to life.
- Fill the pan with water, two tablespoons of baking soda, and half a cup of white vinegar. Bring it to a gentle boil for about 10 minutes.
- Let the mixture cool, then empty it out and wash as normal. This loosens built-up oil residue that regular washing often misses.
- Wipe the inside with a small amount of vegetable oil after washing and drying. This re-seasons the surface slightly and can restore some of the pan’s original slickness.
- Avoid doing this too often. A deep clean like this is meant for occasional restoration — once every few months is plenty, not every week.
This method works especially well for pans that have started sticking again after months of regular use, often making them feel almost new.
9. Daily Habits That Extend the Life of Your Non-Stick Cookware
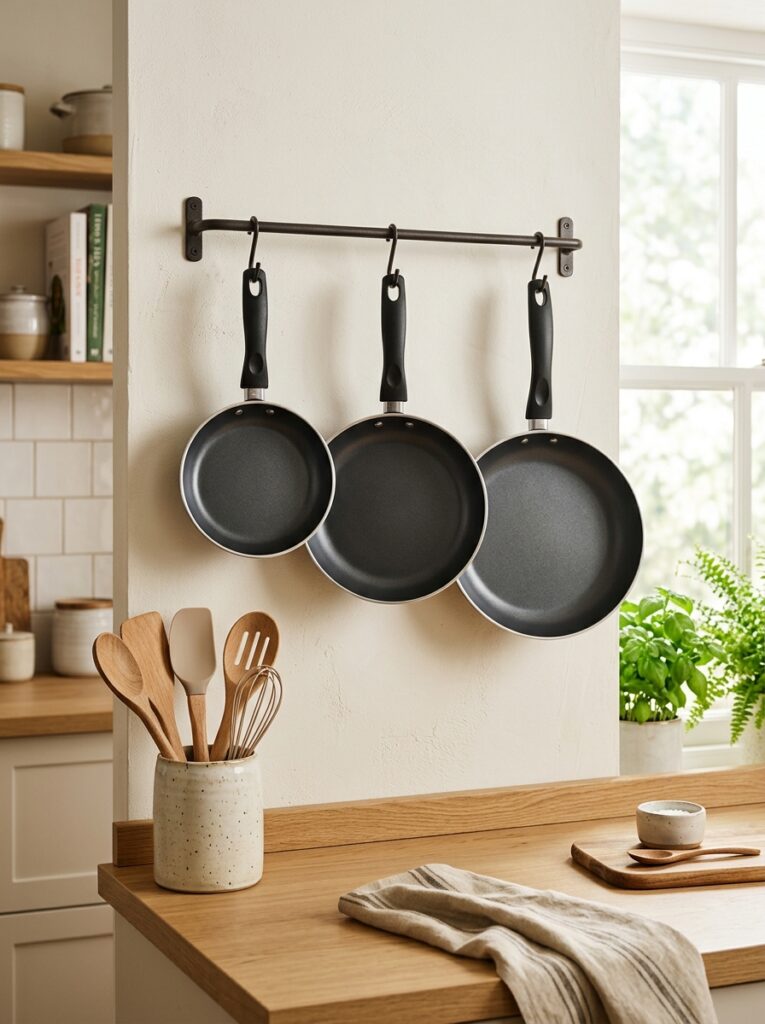
Beyond cleaning, a few everyday habits make a bigger difference than most people realize:
- Always use wooden, silicone, or plastic utensils — keep these dedicated to your non-stick pans specifically, so you’re never tempted to grab a metal one out of habit.
- Add a small amount of oil or butter before cooking, even if the pan is labeled non-stick, to create a protective layer between food and coating.
- Store pans with a protective layer between them, such as a paper towel, cloth, or purpose-made pan protector.
- Avoid preheating an empty pan on high heat. Add oil or food shortly after turning on the heat rather than letting an empty pan sit on a hot burner.
- Hang pans if possible, rather than stacking them in a cabinet, to avoid any contact scratching altogether.
These habits take only a few extra seconds each time you cook, but they add months — sometimes years — to your pan’s usable life.
10. When to Replace Your Non-Stick Pan (Signs of Damage)
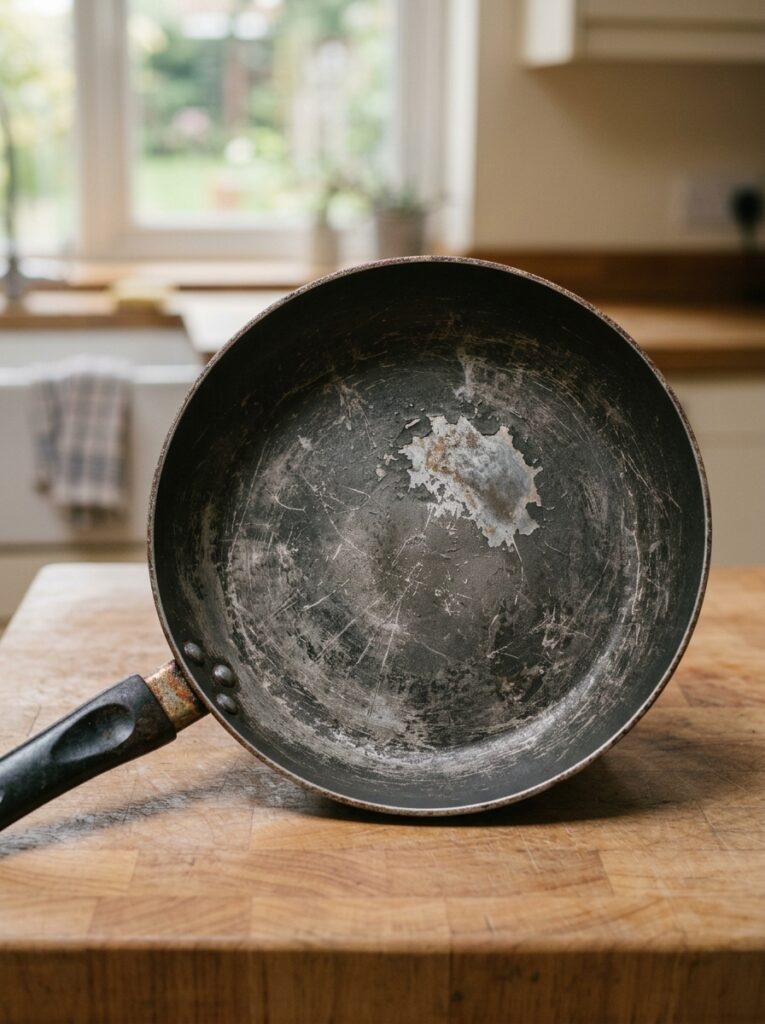
Even with the best care, non-stick pans don’t last forever. Knowing when to replace one is just as important as knowing how to clean it.
- Visible scratches or peeling coating. Once the coating is physically damaged, it can flake into food, which isn’t something you want to keep cooking with.
- Food sticks even with oil. If a well-seasoned, properly cleaned pan still sticks constantly, the non-stick properties have likely broken down.
- Warping. A pan that no longer sits flat on the stove heats unevenly and is often a sign of past thermal shock.
- Discoloration that won’t go away even after a deep clean, which usually signals the coating has broken down at a molecular level.
Most quality non-stick pans last one to five years with proper care, so if yours is showing these signs early, revisiting your cleaning routine can help the next one last much longer.
A Simple Routine You Can Start Today
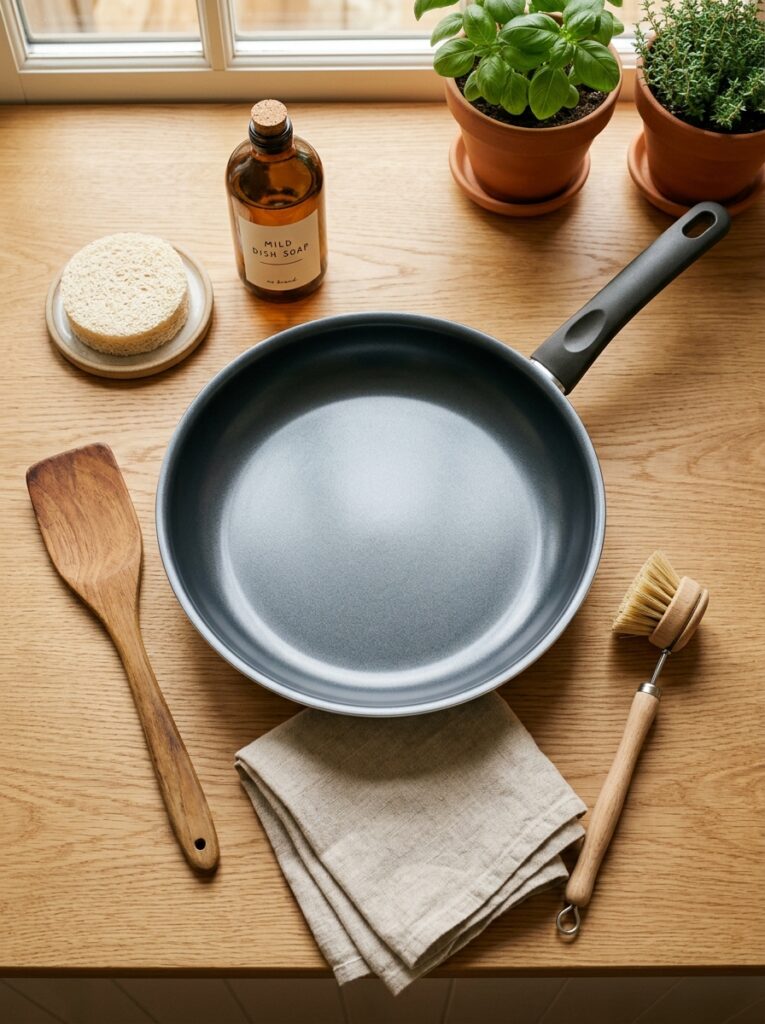
These best non-stick pan cleaning tips without scratching really come down to a few consistent choices: a soft sponge, gentle soap, patience with stuck-on food, and keeping metal tools far away from the surface.. None of these tips require extra time or money — they just require a small shift in habit. Once it becomes routine, you’ll notice your pans staying slicker, shinier, and more reliable for years longer than pans that are scrubbed hard and stacked carelessly.
If you’re working on the rest of your kitchen too, take a look at our guide on kitchen storage ideas for small apartments — a well-organized kitchen makes it much easier to store and protect cookware properly.
Do you have a non-stick pan cleaning trick that’s worked for you? Share it in the comments below — I’d love to hear what’s worked in your kitchen!
If you enjoyed this article, we’re confident you’ll love our other guide too. For smart and stylish ways to organize compact spaces, check out our 10 Small Kitchen Ideas 2026 — packed with clever layouts and storage solutions perfect for kitchens of any size.
Frequently Asked Questions
Can I use dish soap on non-stick pans?
Yes, mild dish soap is one of the safest and most effective options when following the best non-stick pan cleaning tips without scratching. Avoid anything labeled as a heavy-duty degreaser, as these can be harsher than necessary.
Why does my non-stick pan stick even though it’s not scratched?
This can happen from a buildup of baked-on oil residue, which creates a sticky film over time. A deep clean with baking soda and vinegar, as described above, often resolves this.
Is it bad to use cooking spray on a non-stick pan?
Over time, yes. Aerosol cooking sprays can leave a residue that’s difficult to remove and may contribute to the coating breaking down faster than using regular oil or butter.
How often should I replace my non-stick pan?
With proper care, most non-stick pans last between one and five years. Visible scratches, persistent sticking, or warping are the clearest signs it’s time for a replacement.
Can I use steel wool on a non-stick pan?
No. Steel wool and other abrasive scrubbers are one of the fastest ways to permanently scratch and damage non-stick coating. Stick to soft, non-scratch sponges instead.